
Bathroom Addition
We have a bathroom in the barn! We have had it almost completed for a few months now, but this week it was completely finished with the addition of trim and the doors (we had curtains instead of doors for awhile, which was functional but not the most private).

The building the bathroom is in literally did not exist last year. We had an addition built on to our barn/workshop area where the WWOOFer room is. Here is the initial framing for the lower level that will one day be Doug's brewery space.

The framing started off pretty quick, and in just about a month we had a second story.


Here is what it looks like today with all of the siding on and the doors and windows installed.

Doug and I really did not do much of the work on this addition in the way of construction, however I did do a lot of the designing of the space. One thing that I knew I wanted was an open-air ceiling over the bathroom. In Hawaii, we have a lot of mold problems, especially in bathrooms, because of the extreme humidity, so it was important to me to protect this bathroom from mold as much as possible. One way we did that was by installing screens in the gables to prevent bugs and then attaching aluminum grates instead of ceiling drywall to the rafters. This way there is open ventilation over the showers and the steam can easily escape.

The aluminum sheets we choose are called union jack aluminum sheets. Ashley tested out a few different colors of teal for painting the panels and then painted them using the paint sprayer.


We attached them to the rafters using metal screws.

I wish that I had more pictures of the construction process, but at least I have these two which shows you a middle step once most of the drywall was up and the electrical and plumbing was in. After this our mason, Jim, did the tiling of the showers and floors and Chuck, our handyman, finished the plumbing and did installed all of the fixtures.


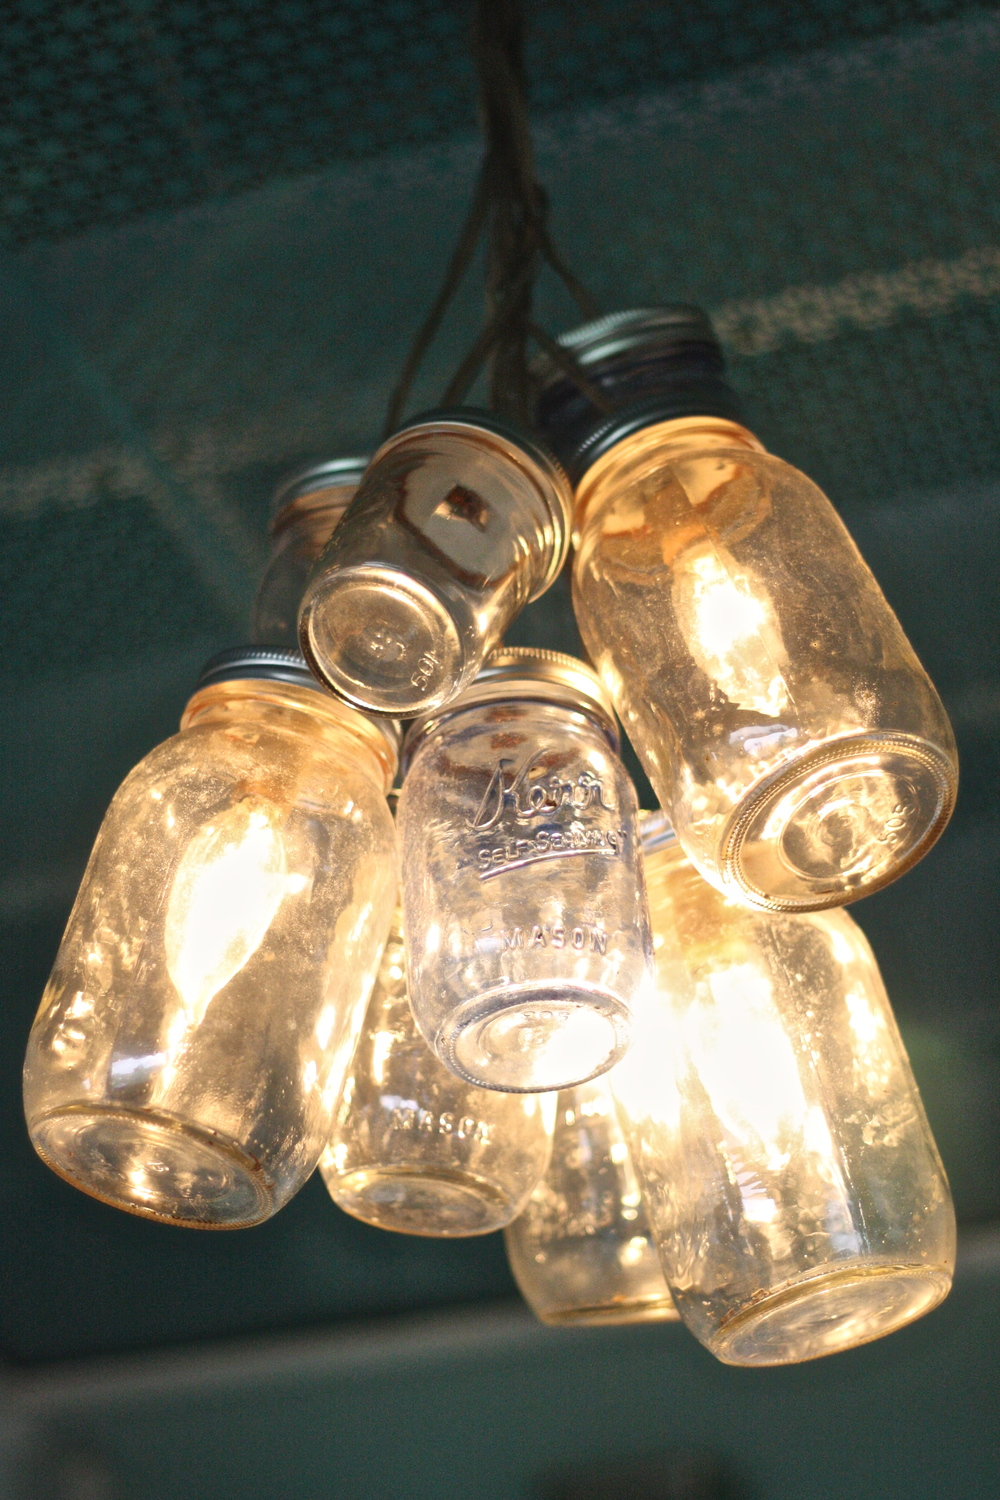
When Ashley and I were working on the "design concept" for the bathroom, we decided to go for a rustic/beachy look and color pallet - light greens, blues and whites, wood elements and glass. One thing we saw at Lowes and loved was this mason jar chandelier. The $200 price tag seemed a little crazy for something we could make ourselves, so Ashley set to making a similar chandelier herself.

Ashley made the chandelier using lamp cord and mason jars. She used pint and quart sized jars and both blue and clear jars. I think it looks awesome lit up and off - and it is super cute against the background of the ceiling panels.


Another design element that Ashley and I found were the mirrors. I knew I wanted something in our color pallet with more of an antique look and we just happened to stumble upon a standing tri-fold mirror at the habitat restore in the exact seafoam greenish color that we were using in the bathroom. Once Chuck cut the feet off the mirrors, they hung great and fit in perfectly with the whole vibe of the bathroom.


Another thing we made ourselves out of a Habitat find were the vanities. These vanities were actually nightstands and Ashley fit them with an aluminum bucket to be a vessel sink and installed the drains.


The toilet rooms are not too exciting or interesting, but I did make sure to have windows in them for light and ventilation.


The WWOOFers also made some cool hanging planters out of jars for the windows. They attached them with fishing line so they almost look like they are floating.
Last, but not least, are the showers. I wanted to use the hex tile in the entire shower, but there wasn't quite enough without having to special order tile so we did an accent wall in white squares. We also picked out a clear glass tile in a few different greens and blues and had Jim randomly place them into the hex tile design. I like how it adds a little pop of color.


So there you have it, the completed WWOOFer bathroom!
